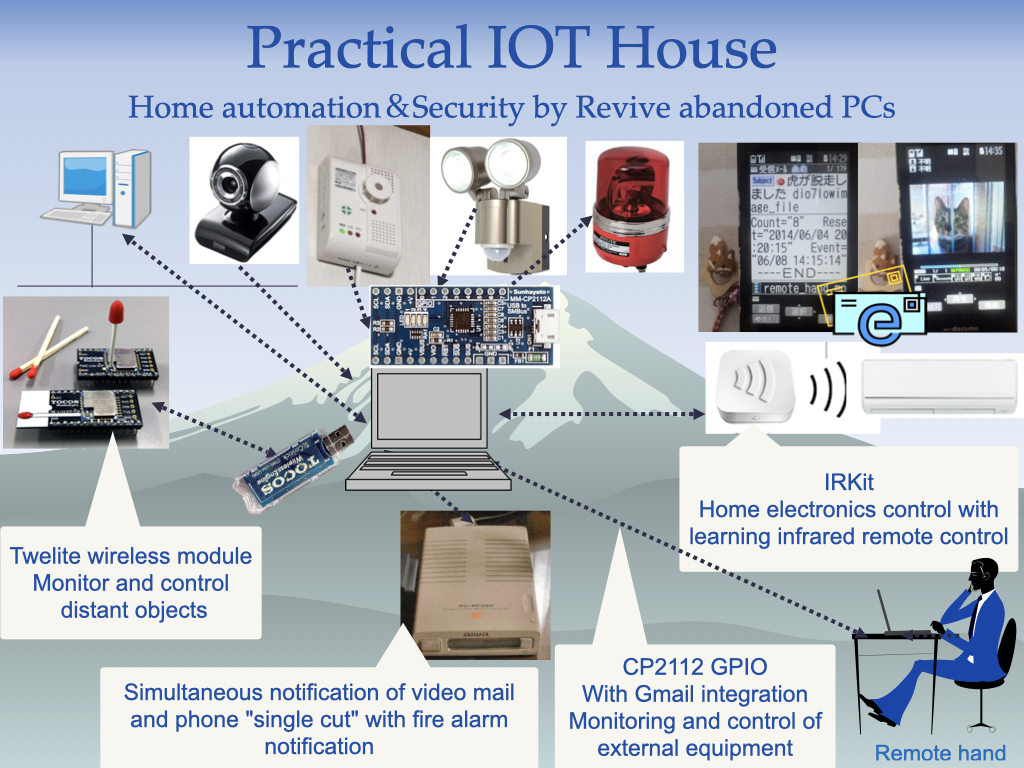
IOT-House_old_pc
IOT-House_old_pcとは
- 古くなってWindowsでは使えないノートPCをIOTハウスで復活させる物です。
- IOT-House_old_pcはUbuntu 18.04 LTSにraspberry piのIOT-Houseを移植したものです。
- SunhayatoのMM-CP2112をGPIOに使い環境ガスセンサーBME680を使います。
- IOT-House_old_pcはサーバーで使用するのでそれ程、高い性能は必要有りません。
- 動作環境はCPUが1GHzメモリが約1GB程度の古いノートパソコンを想定しています。
- raspberry pi zero Wに比べて古いノートパソコン消費電力(25W程度)は多いですが、標準でUPS搭載 (バッテリー)、速度、安定性に優れています。
- IOT-House_old_pc New Release Ver:2024.12.28
ハードウエア
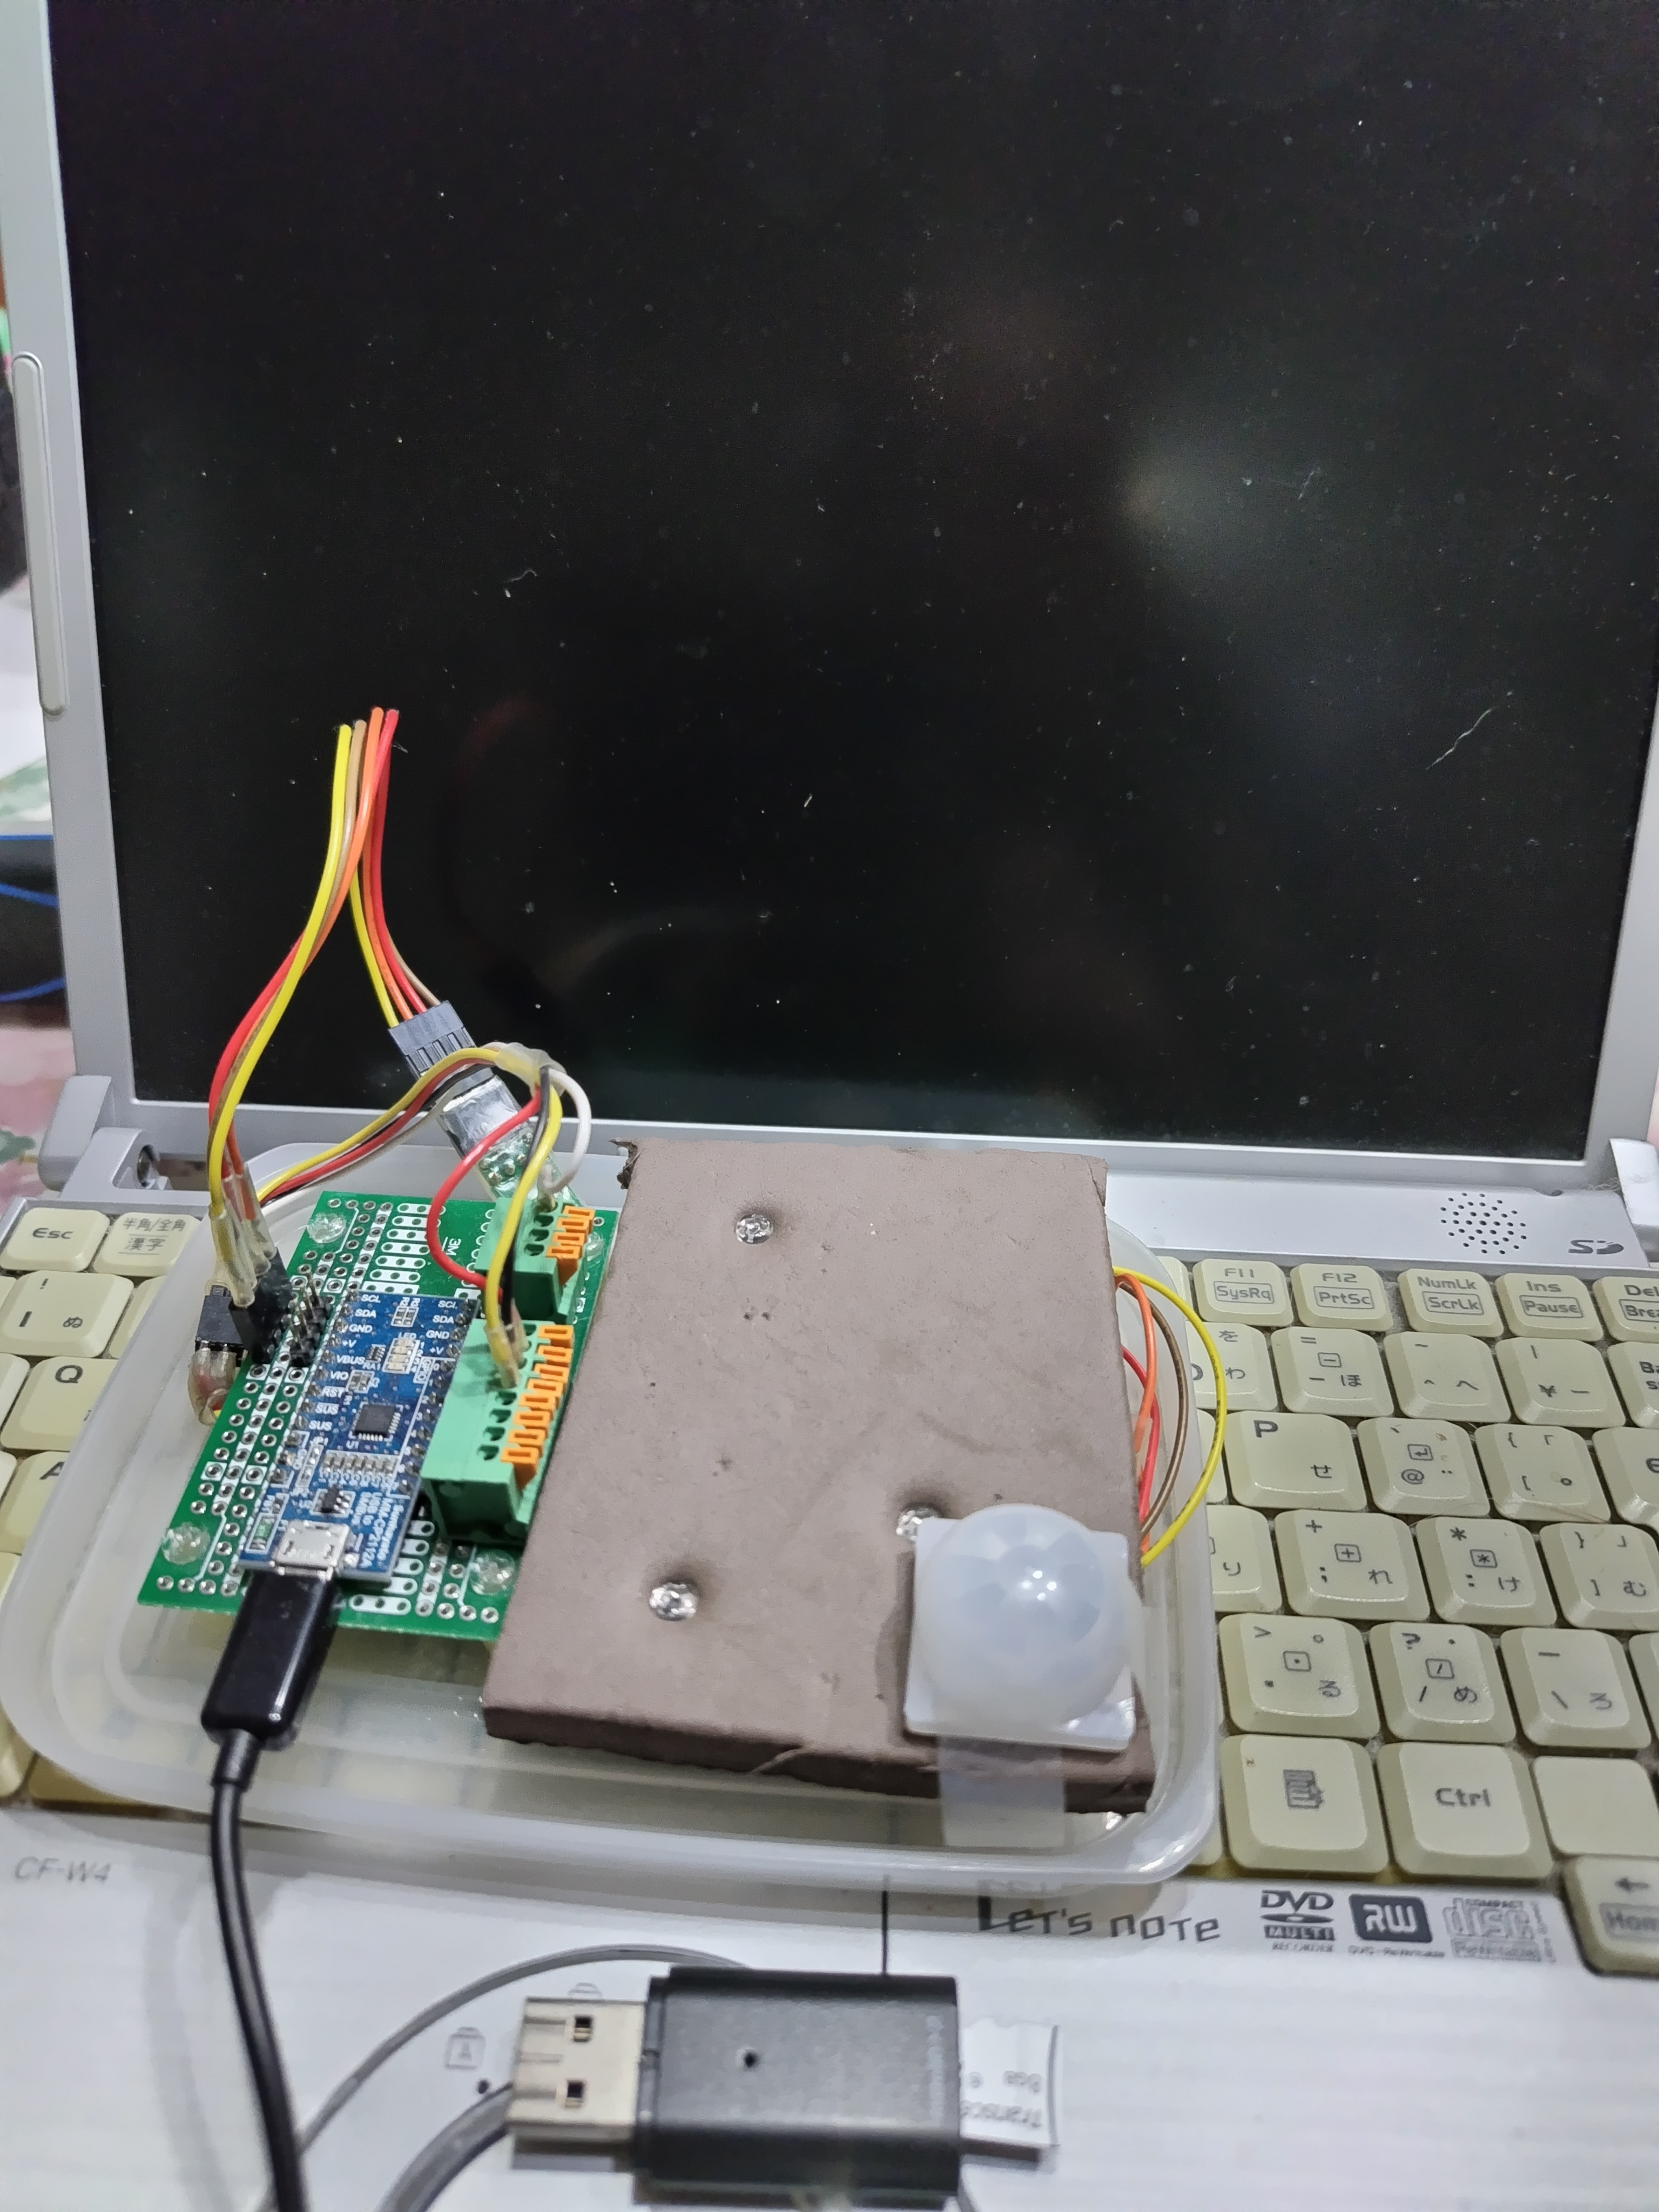
- 下記容量のフッラッシュメモリを用意して下さい・・・SSD推奨容量は問いません
1
2
3
4
5
6
7
8
9
10
11
12
13
fdisk /dev/sdb
Welcome to fdisk (util-linux 2.29.2).
Changes will remain in memory only, until you decide to write them.
Be careful before using the write command.
Command (m for help): p
Disk /dev/mmcblk0: 7.3 GiB, 7820279808 bytes, 15273984 sectors
Units: sectors of 1 * 512 = 512 bytes
Sector size (logical/physical): 512 bytes / 512 bytes
I/O size (minimum/optimal): 512 bytes / 512 bytes
Disklabel type: dos
Disk identifier: 0x15ae16d5
インストール
- URLよりイメージをダウンロードしますiot-house_old_pc_img.7z Download, user:remote, password: pepolinux
- ダウンロードしたファイル、iot-house_old_pc.7z を解凍、iot-house_old_pc.imgをフッラッシュメモリへ書き込みます、例えばddコマンドノートパソコンのUSBへフッラッシュメモリとMM-CP2112を装着後電源を投入します、5分ぐらい立ち上げに掛かるかもしれません。
1
dd if=iot-house_old_pc.img of=/dev/sdb bs=100M
設定
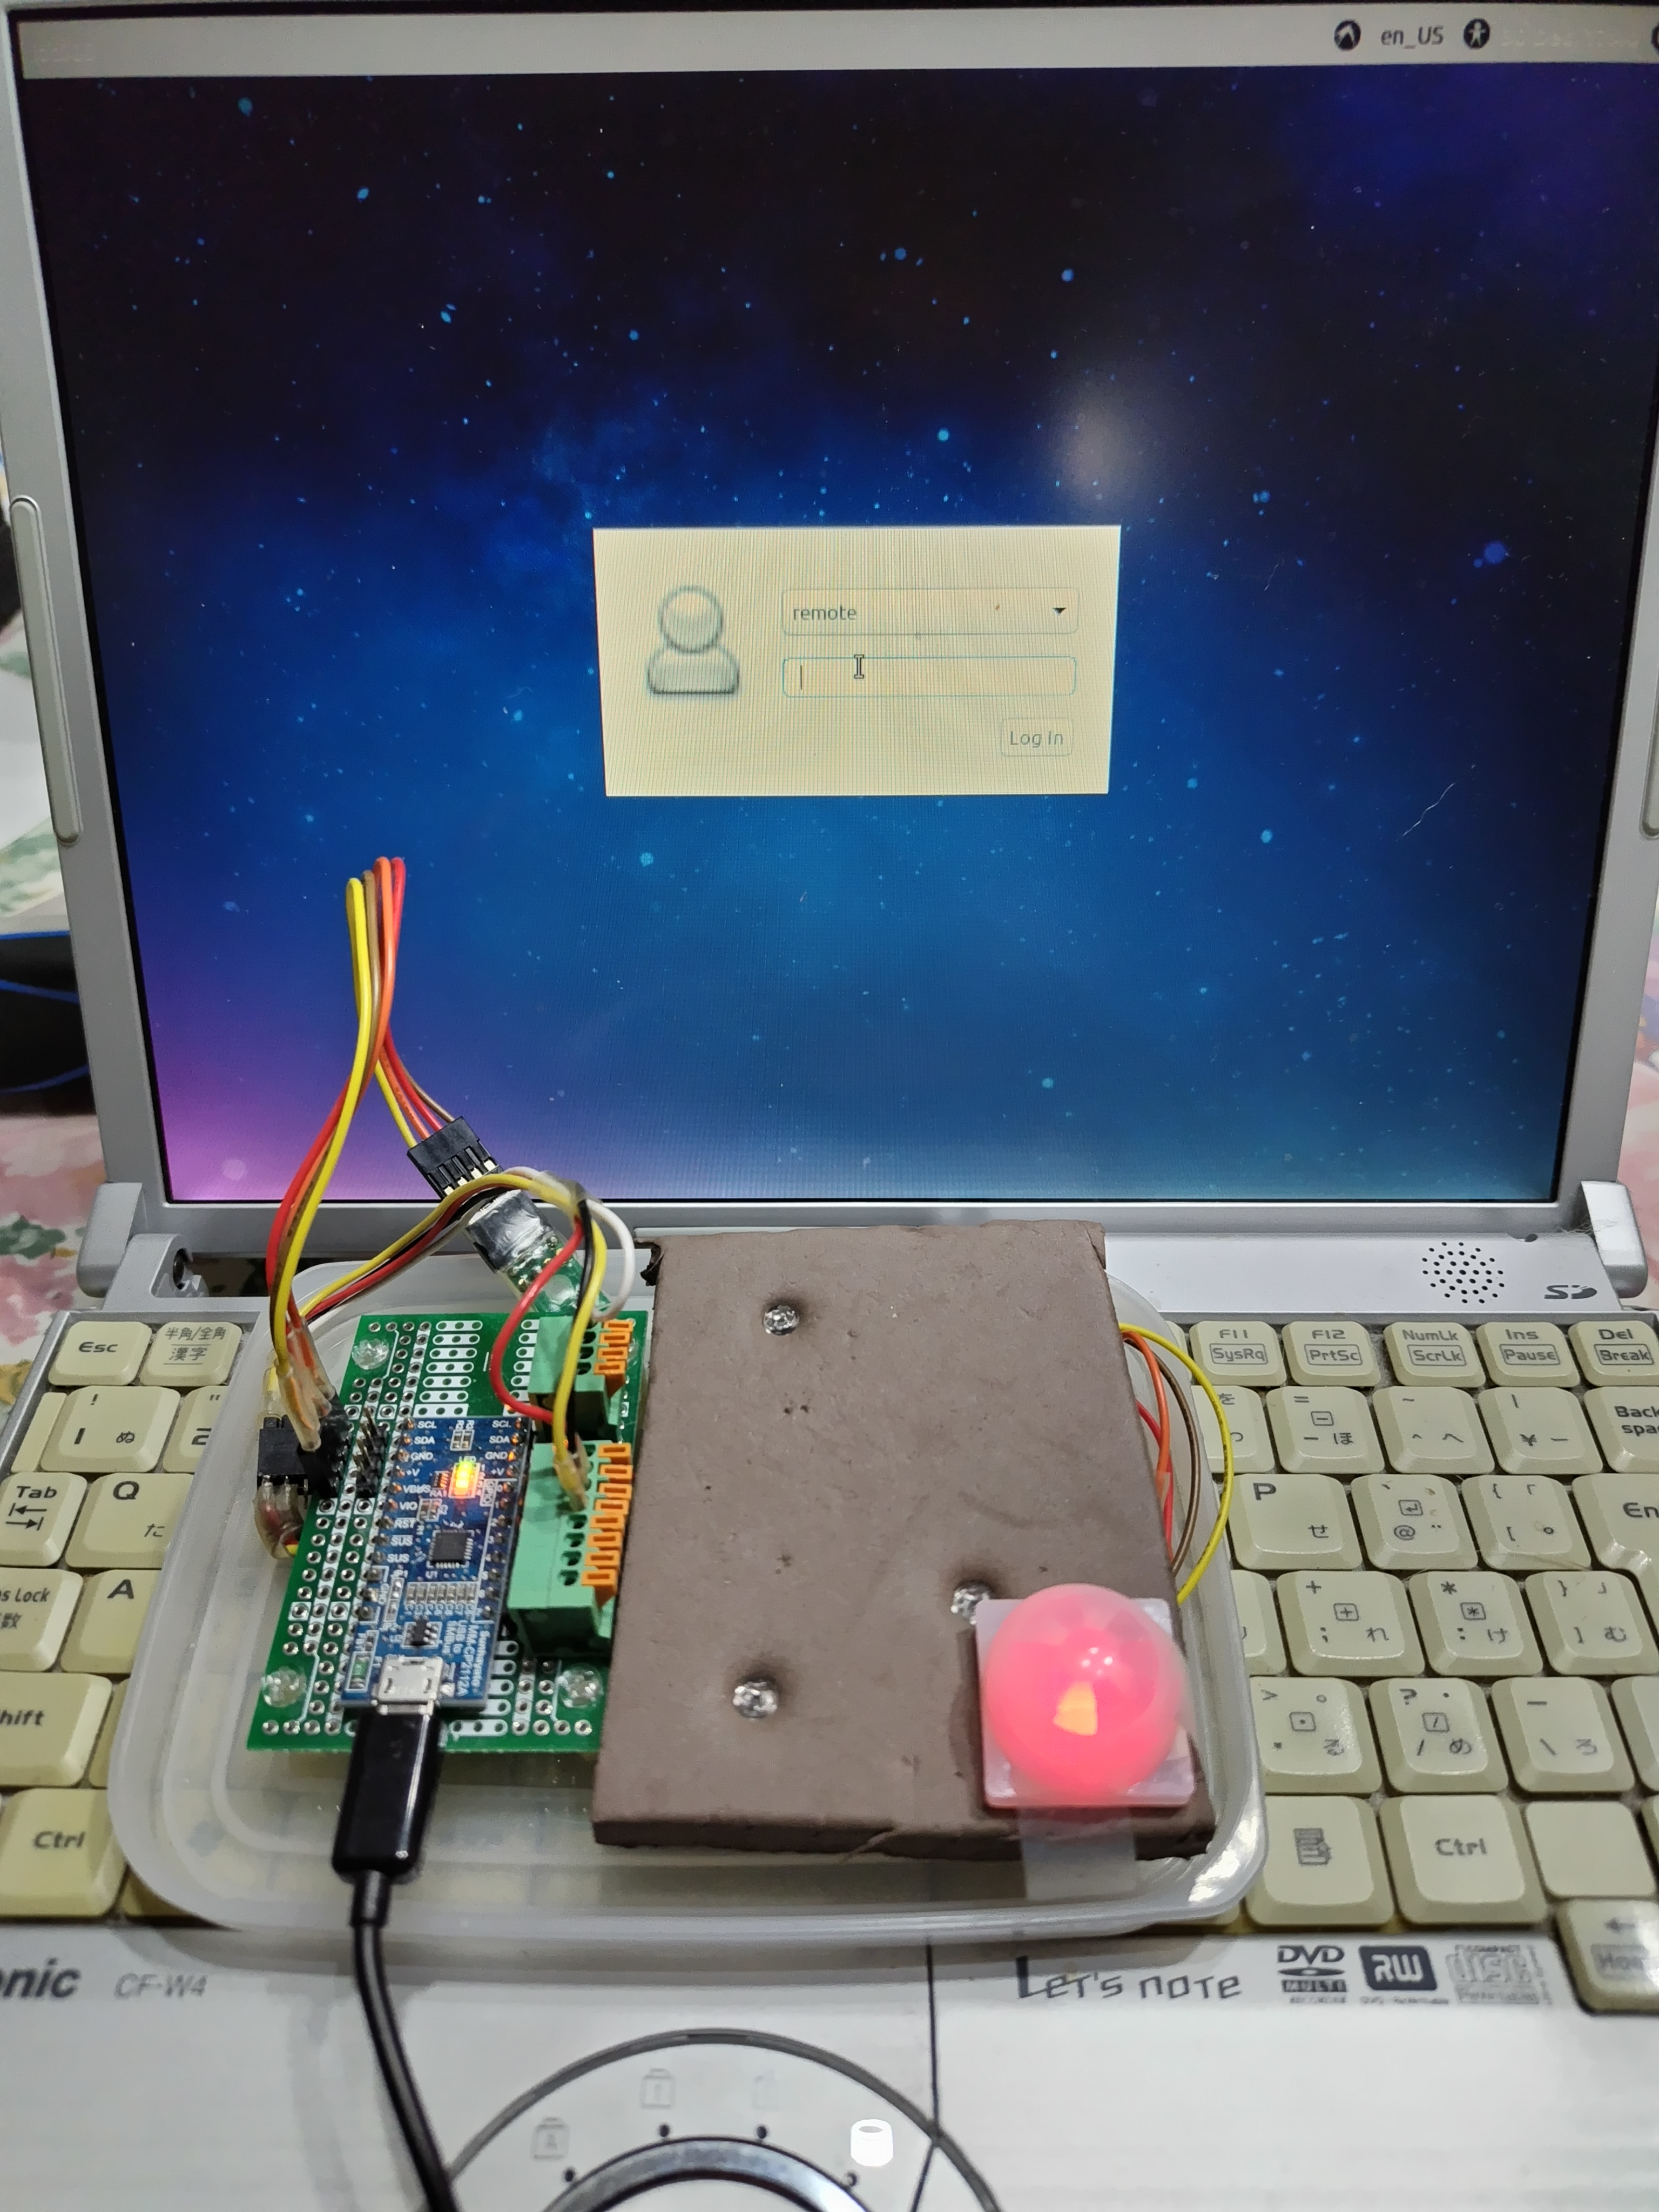
ログイン画面 user: remote, password: hand でログイン
ネットワークの設定を各環境に合わせ設定します、初期設定では有線LAN、ホスト名 iot000
別PCからは http://iot000.local でuser:remote, password: hand でログイン
Control panel が表示されたら設定をします
ネットワーク設定が終了したら、以下コマンドでGUI無効へ立ち上げ時間の短縮出来ると思います。
1
sudo systemctl set-default multi-user.target
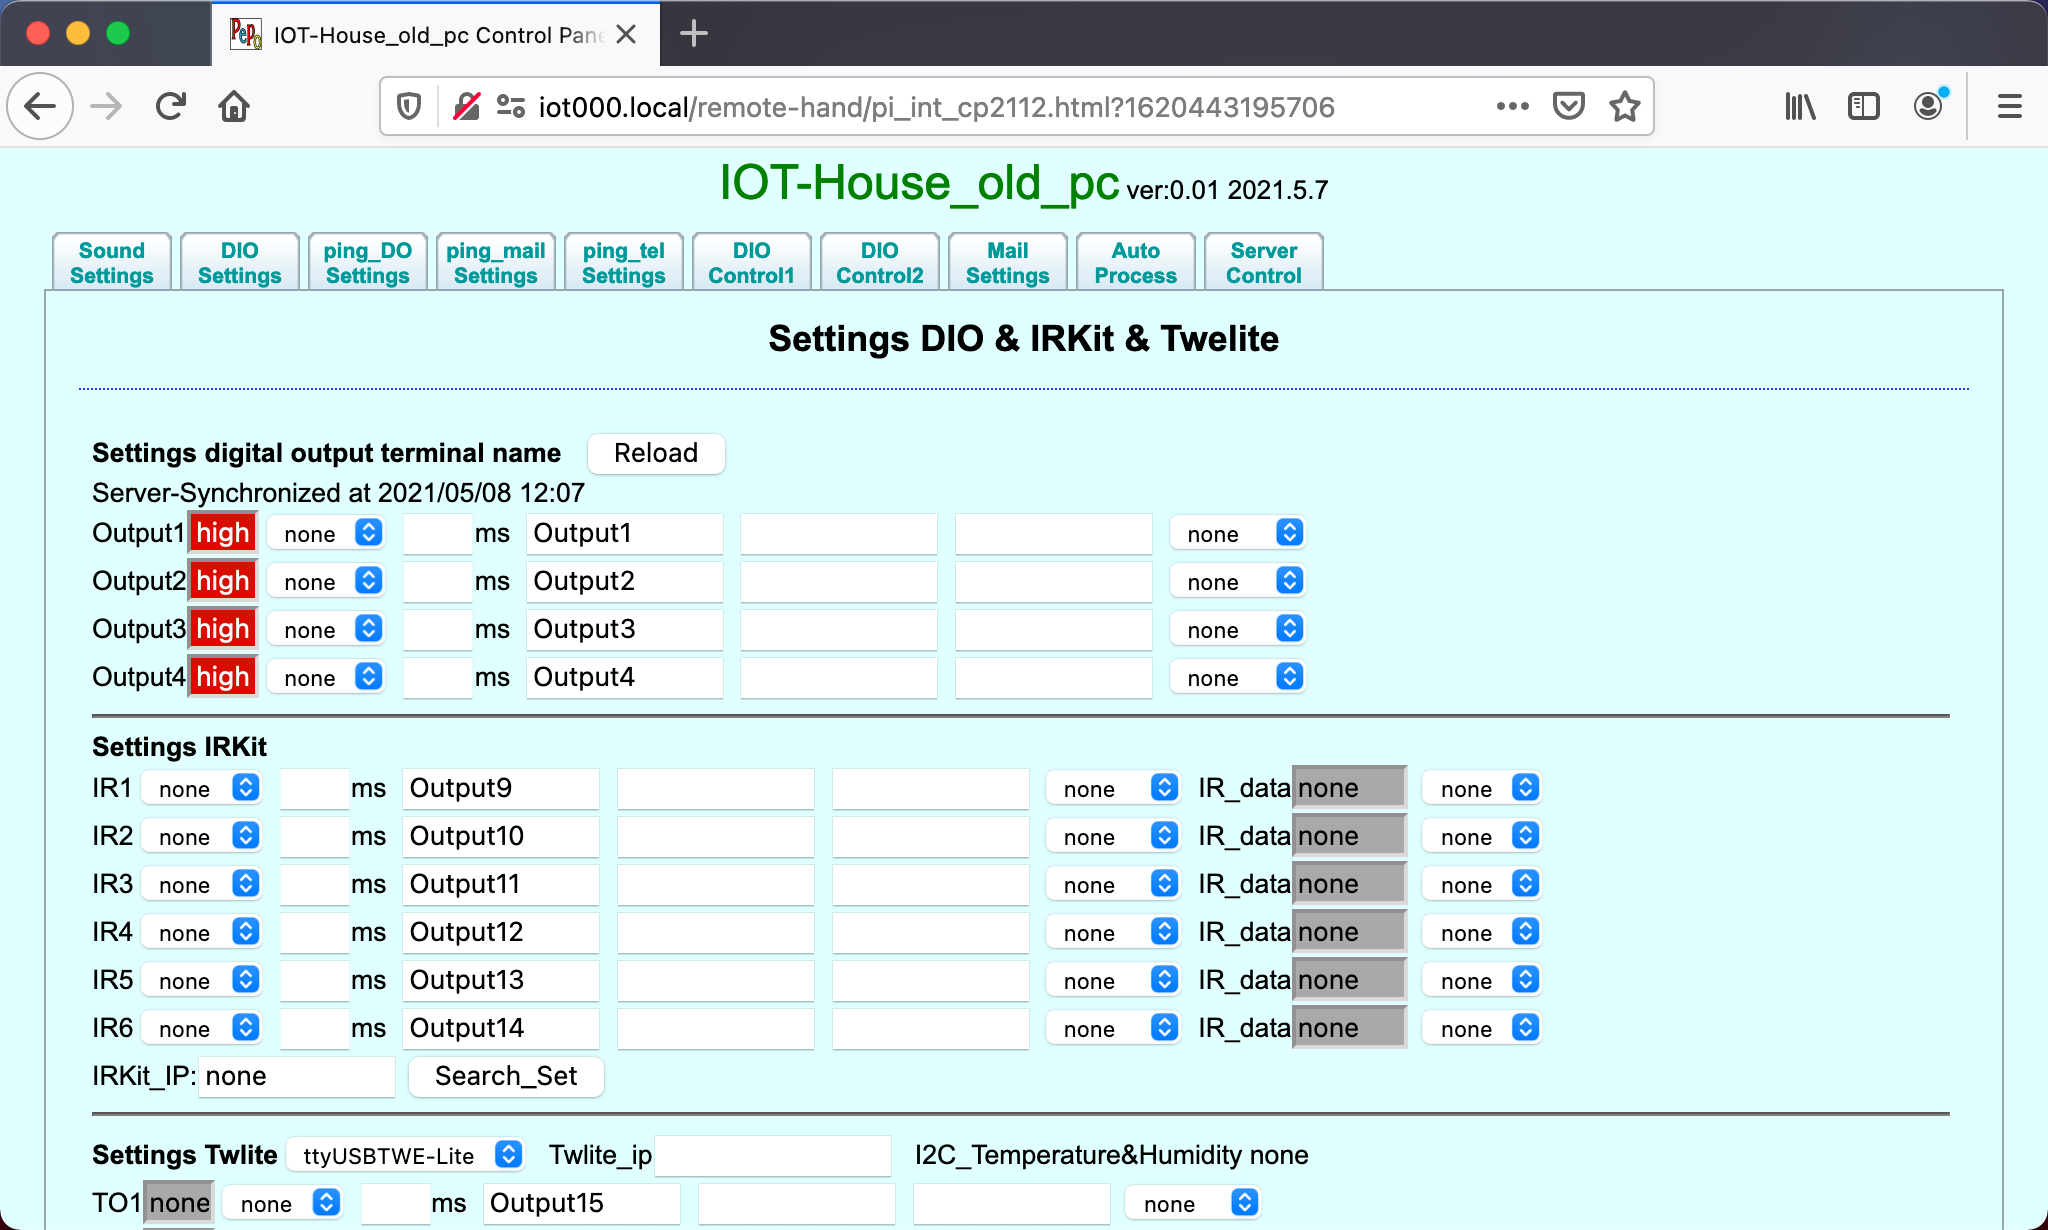
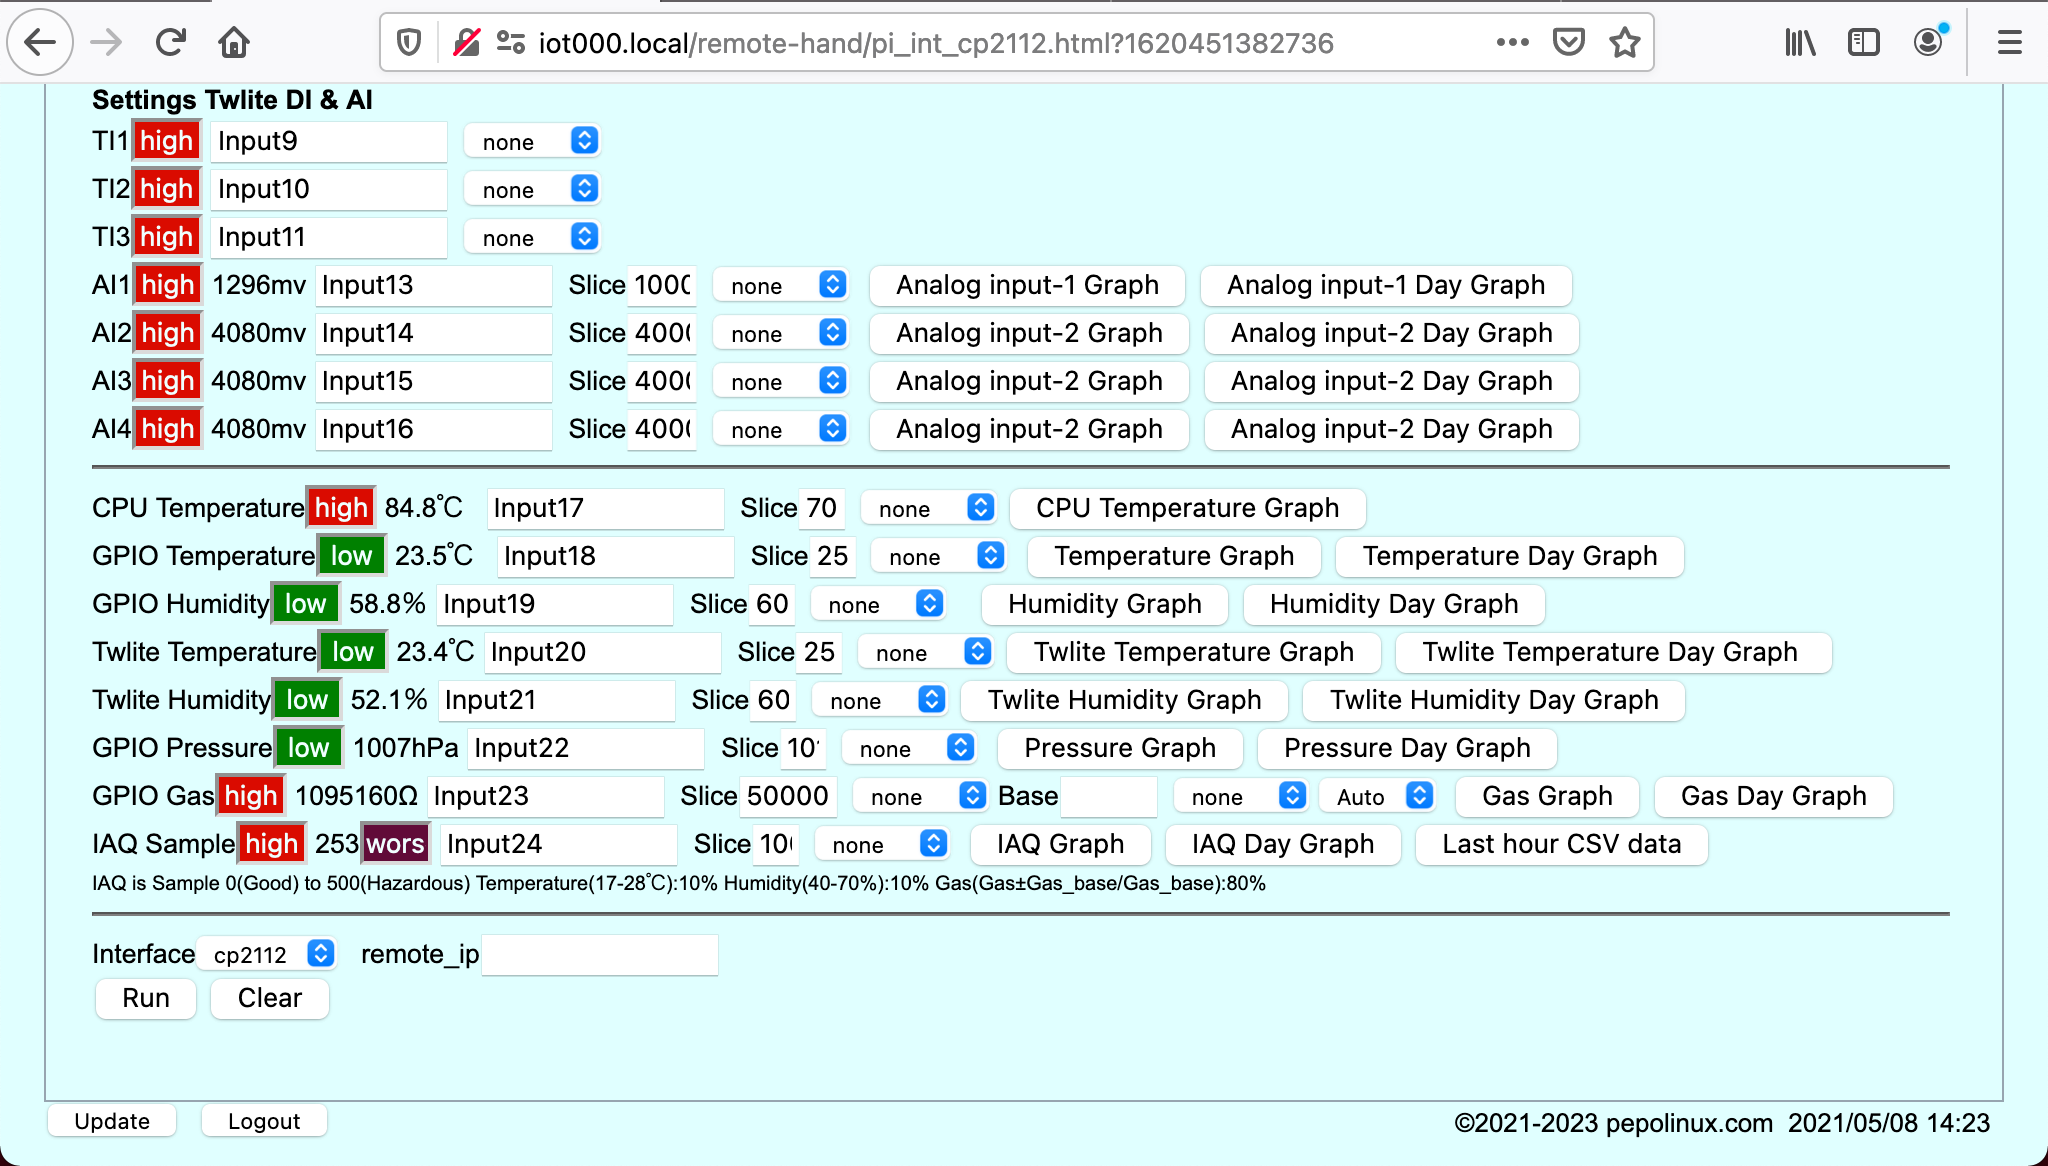
設定方法はraspberry piのIOT-Houseと同じです